Related Resources
Did you know that lotus flower seeds can live for 1,300 years?
This beautiful flower has many symbolic meanings, including purity and resilience.
In some religions, such as Buddhism and Hinduism, it’s a sacred symbol that represents spiritual awakening.
The lotus flower comprises multiple overlapping petals that form a bowl-like shape.
Although delicate, this shape can be challenging to draw.
In this guide, we’ll show you the steps to simple lotus flower drawing so you can add it to your comic book or your next work of art!
The Tools You Need For An Easy Lotus Flower Drawing
To make the process of lotus drawing more enjoyable, we recommend you use these tools:
- An H pencil: H pencils have a hard, light lead that leaves a soft trail on paper. They are the best choice for outlining and creating basic shapes.
- An HB pencil: HB pencils are medium hard. Their lead is neither too hard nor too dark. That’s why we recommend using HB pencils to add details to your lotus drawing and softly shade it.
- A 4B pencil: These pencils have soft, super dark leads that are ideal for creating darker shadows.
- A blending stump: A blending stump is a handy tool to have because you can use it to soften the harsh lines of your sketch and make transitions from darker to lighter sections (and vice versa) more subtle.
- A kneaded eraser: We like this type of eraser because you can tweak its shape and size depending on what you want to erase. Kneaded erasers are also nice to have to accentuate the highlights.
- Sketch paper: We’d advise you to go with the paper that has micro-perforations. Drawing on such a surface is easier because the pencil can easily glide over it. Also, it’s easier to make corrections on smoother paper surfaces.
If you prefer using digital drawing tools, that works, too!
The most important thing is that you practice on the regular until you master the skill of lotus drawing!
How To Draw A Lotus Flower In 5 Simple Steps
The easiest way to learn how to draw lotus flowers is to draw it one step at a time.
Here’s how to do it.
Step 1: Draw The Base
Recommended tool: H pencil
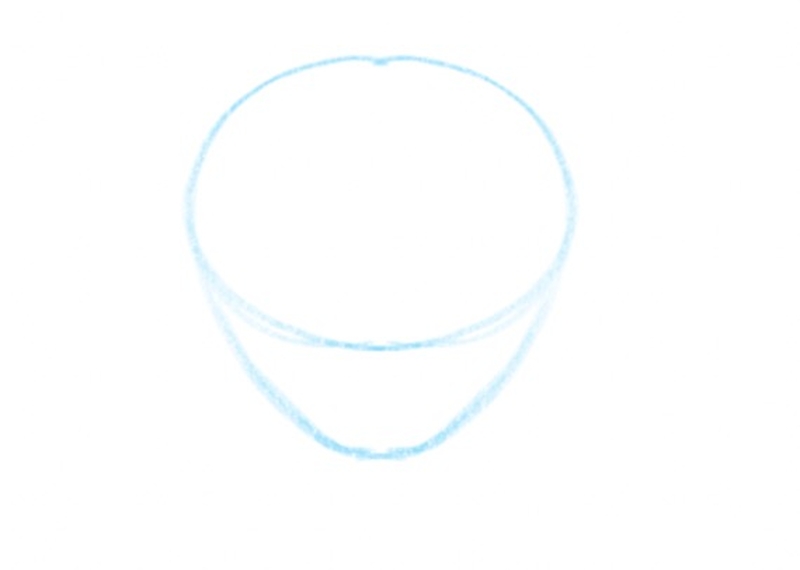
Begin by drawing a large sphere in the center of your paper.
This sphere will serve as the base of the lotus flower and will help you position the petals symmetrically:

Then, add a curved line under the sphere to complete the base, like so:
Step 2: Draw The Petals
Recommended tool: H pencil
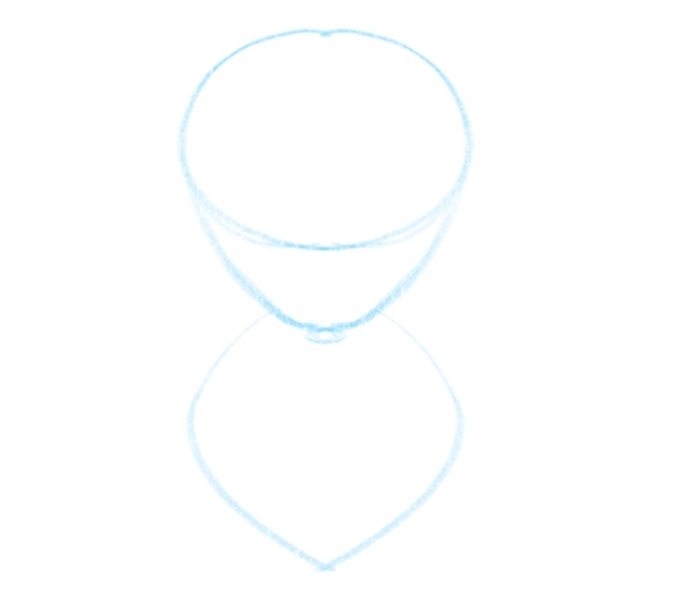
Now, let’s sketch the petals.
Start at the bottom of the base and draw a petal that resembles a soft diamond shape:
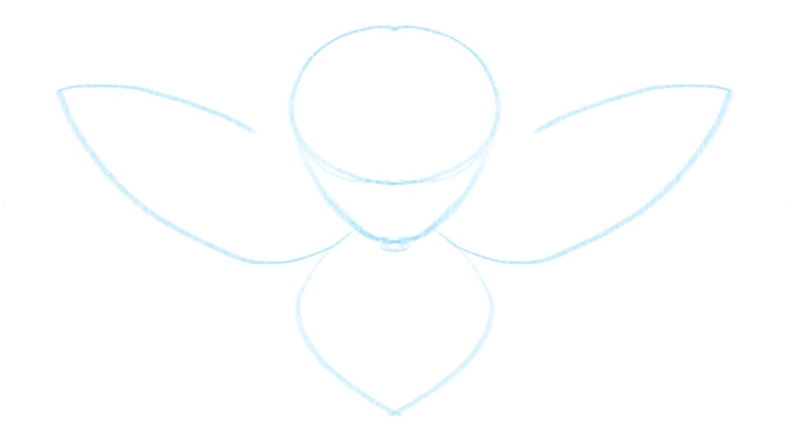
Next, draw two petals with pointed tips on the left and right side of the base.
These petals are on the outer side, so elongate them and draw pointed tips, like this:
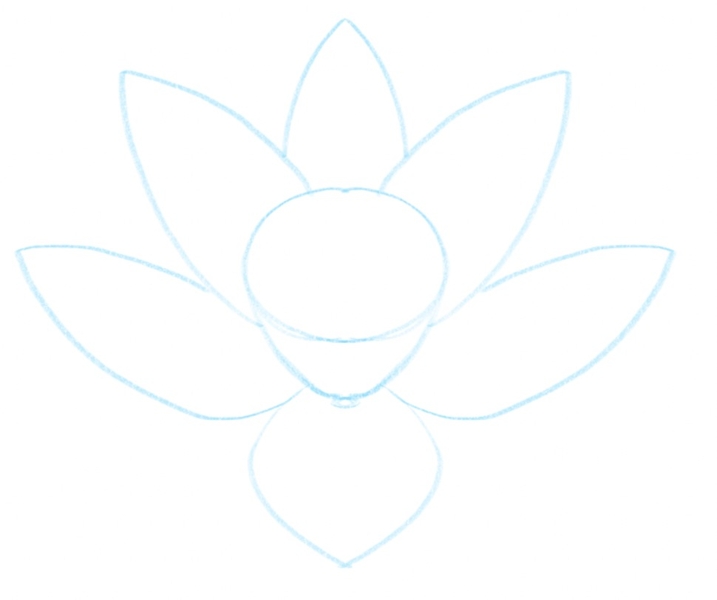
Next, draw three more petals between the second set, filling in the gaps.
These petals should also be elongated and pointed, except for the petal in the middle — keep that one small and positioned in a way that it appears to be behind the other two petals you just sketched:
Next, let’s draw smaller petals.
Start at the very bottom of the base (from its center) and sketch two small petals. They should go slightly over the first petal you sketched.
At this stage, point the petals downward.
Then, add two more petals that are wider and larger than the set you just added.
To finalize this step, add two pointy, upward-facing petals on both the left and right of the base. You want them to overlap with the large petals from earlier, like so:
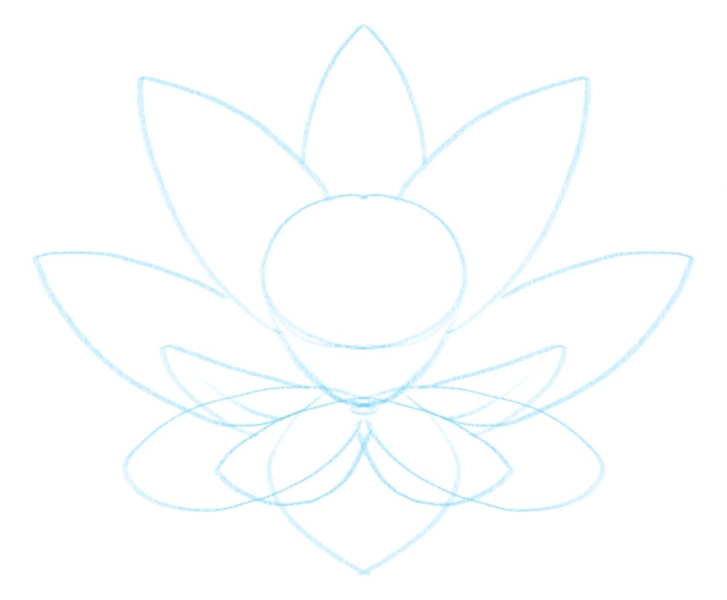
Then, attach to the set of petals you just drew two pointier petals on either side of the base. They should look almost like horns.
At this stage, you can also add some details, like petal veins, to enhance the texture of your lotus flower.
Next, connect the lower petals with this horn-like set by sketching two large petals on both the left and right side, like so:
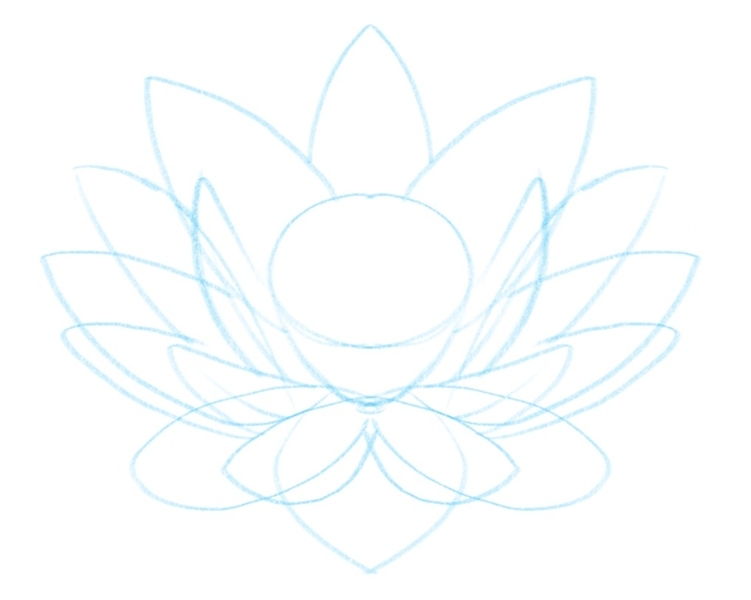
Let’s add one more set of petals to fill the gap in the middle of the flower:
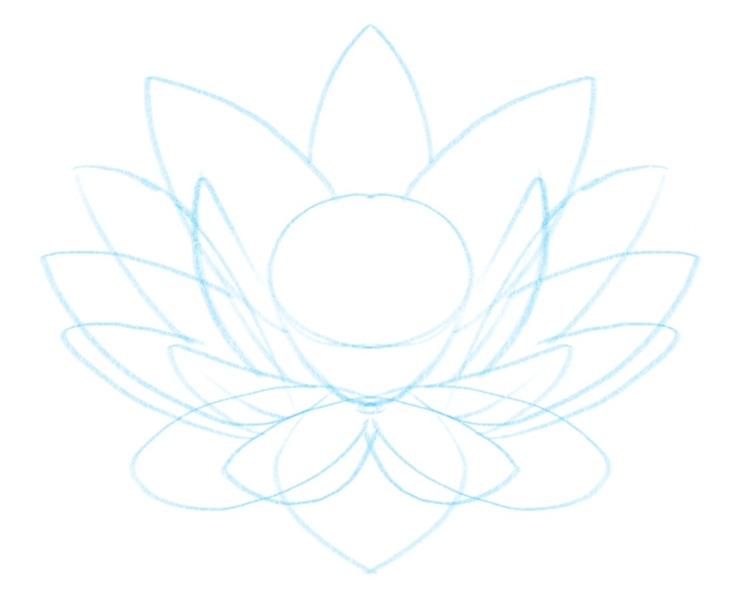
Most lotus flowers have between 16 and 36 petals, but there’s a Japanese species called the “strange lotus” which has between 2,000 and 5,000 petals!
Don’t worry — we’re not drawing the “strange lotus,” but we do still have some work to do, so, let’s continue outlining the petals!
We’ll now add two sets of shorter petals around the top part of the base, like this:
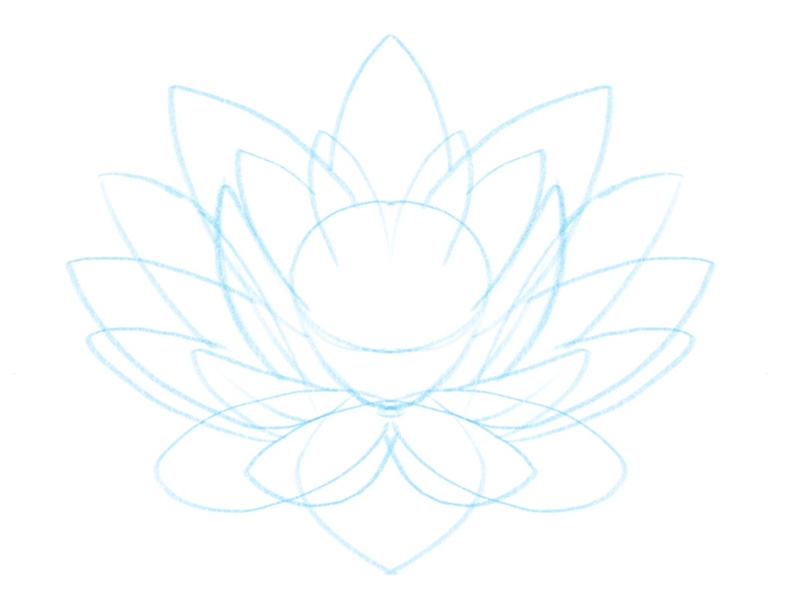
Then, we need to add two “V” shaped sets of petals at the front of the base — the petals at the front should be shorter and wider, and the petals closer to the base should be elongated and narrower:
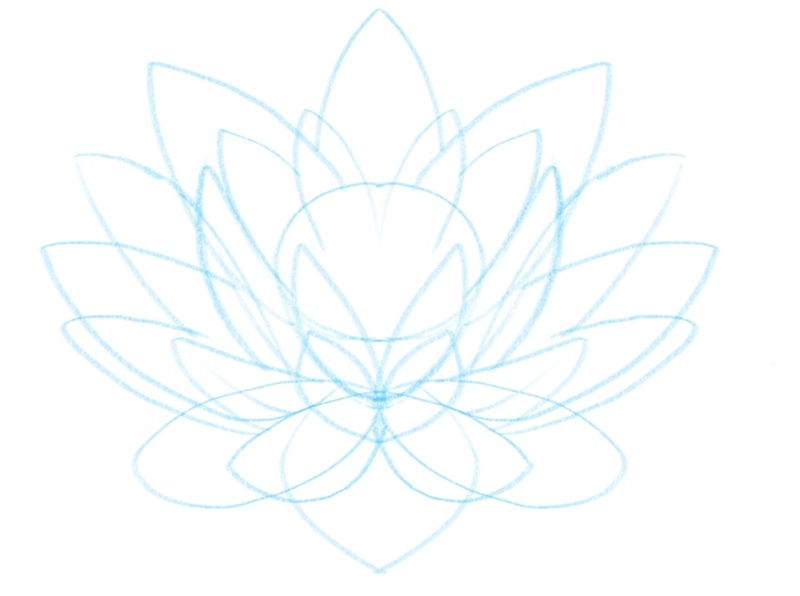
Let’s connect the “V” shaped petals at the front with an upward-curved line — i.e., another petal.
Now, we need to enrich the top part of the lotus flower.
So, let’s add some petals around that area, like so:
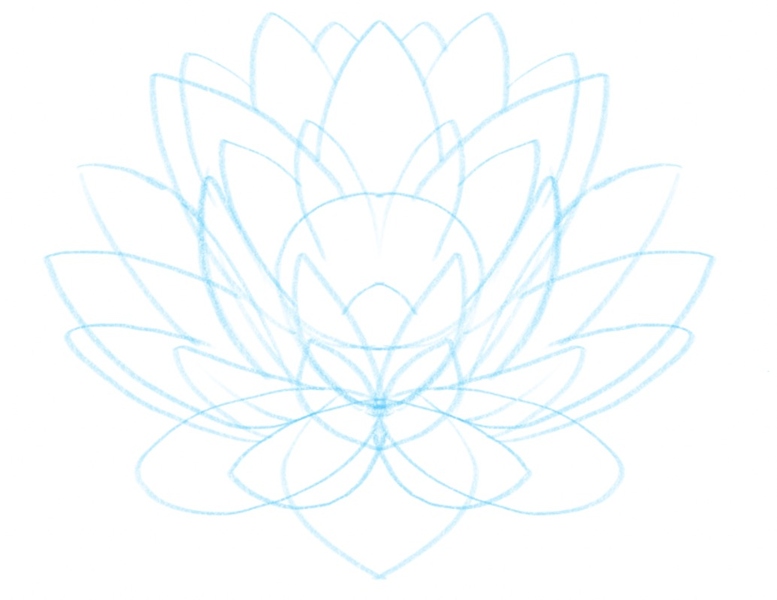
Now, let’s add some more petal veins to the two central petals attached to the base:
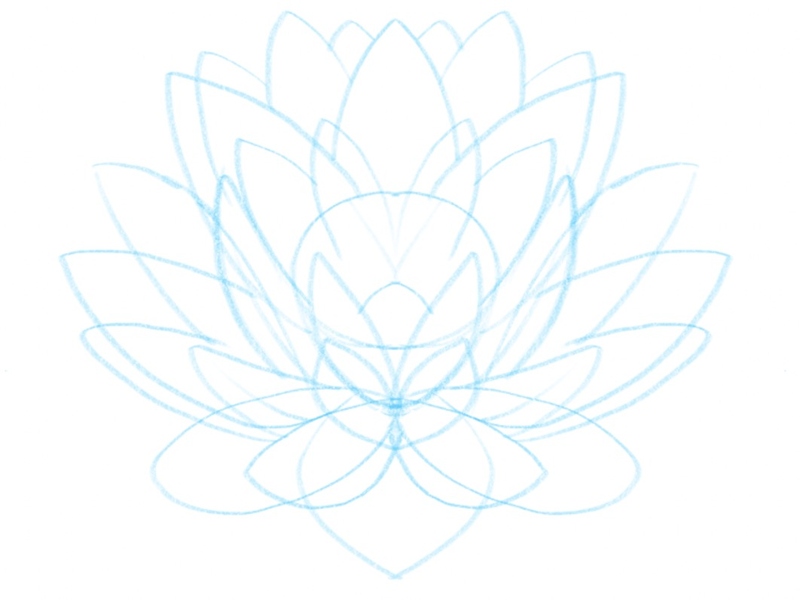
Step 3: Enhance The Lines
Recommended tool: HB pencil
Once your lotus flower outline is ready, it’s time to enhance the lines and add more details to the sketch.
We recommend using an HB pencil at this stage because of its darker lead, but you can use whatever pencil you like — simply apply more pressure to it to create darker lines!
Let’s go over the bottom of the lotus flower, like this:
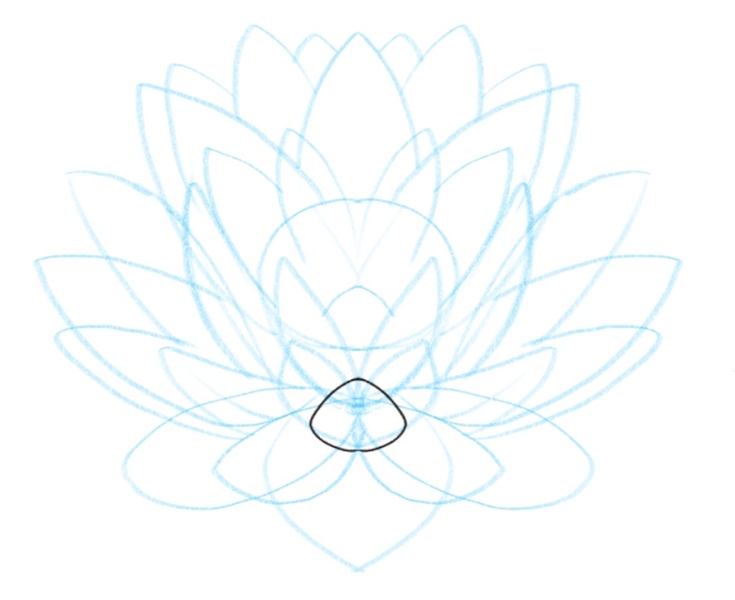
Then, go over the petals below the base:
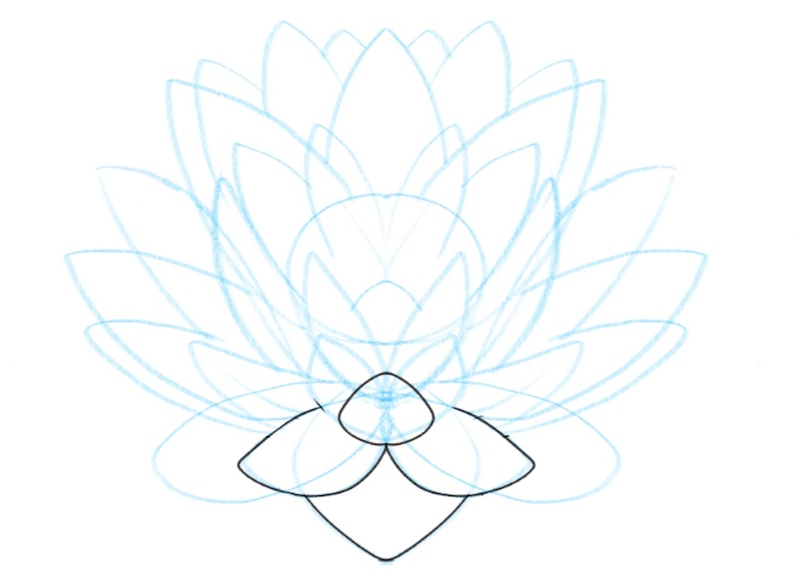
Now, enhance the petals toward the middle of the flower:
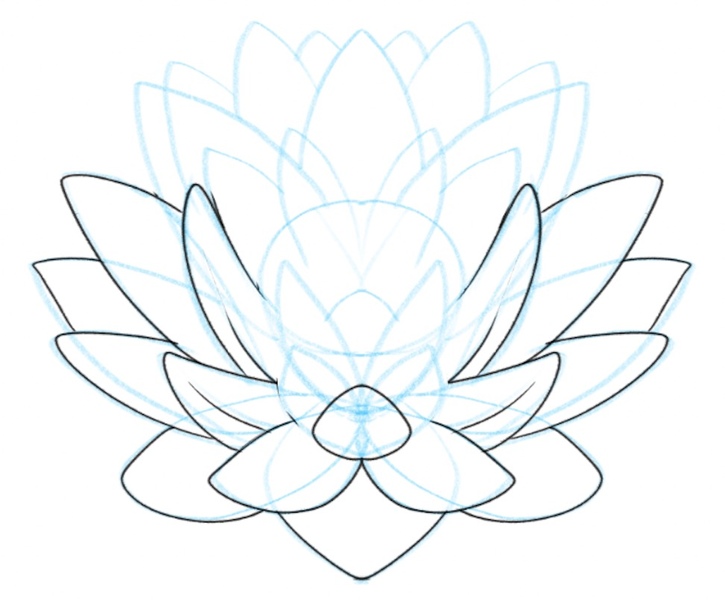
Go over the guidelines surrounding the upper part of the base and make your way toward the top of the flower:
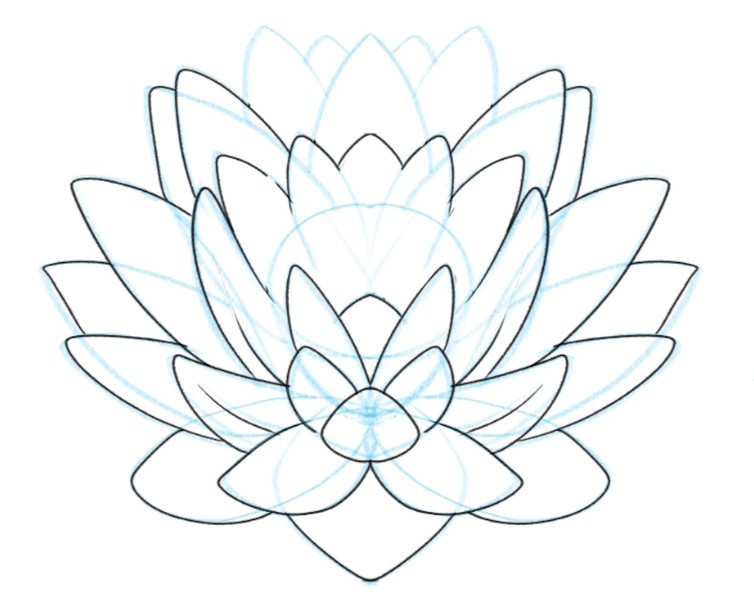
Let’s finish enhancing all the petals:
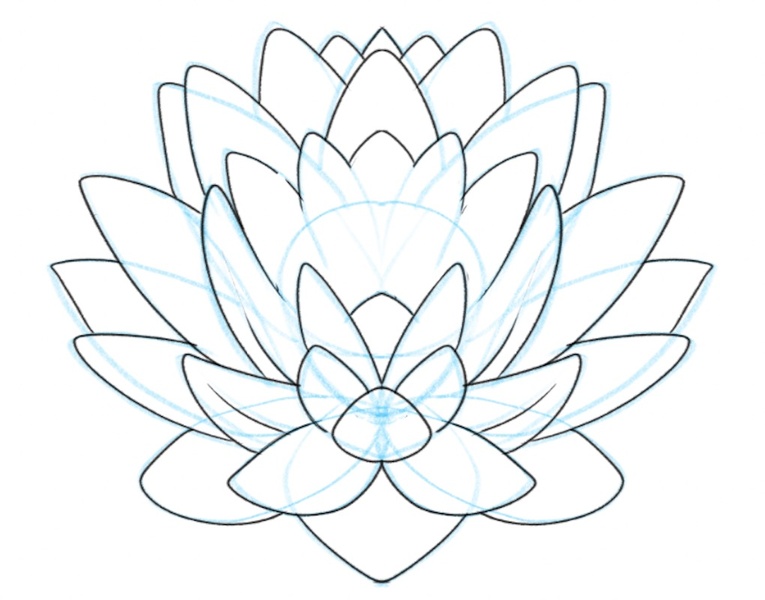
We’ll now draw the inner petals at the center of the lotus flower.
To do so, we’ll use curvy lines to create irregular shapes, like so:
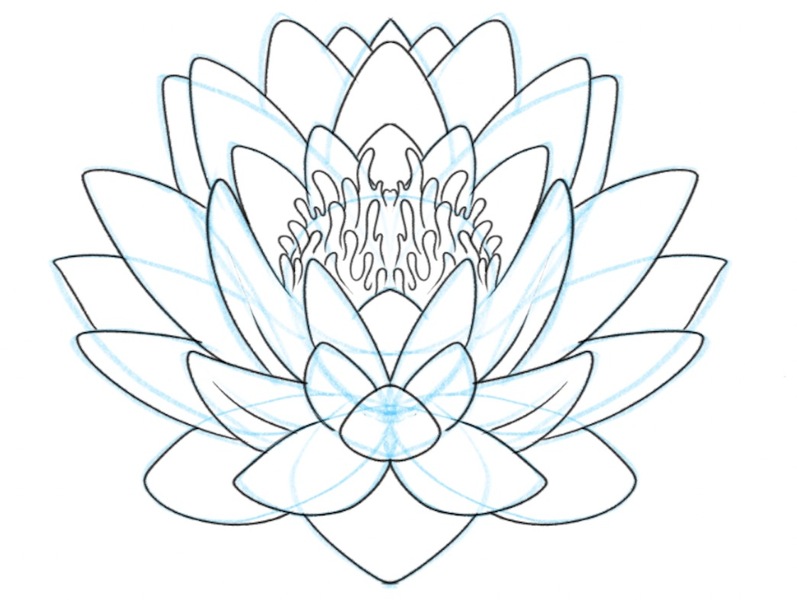
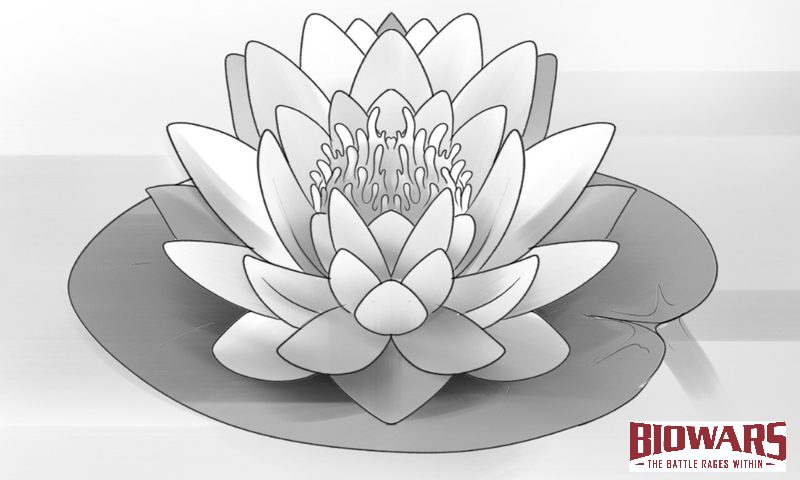
Your lotus flower sketch is now finished!
Step 4: Erase The Guidelines And Add The Final Details
Recommended tool: Kneaded eraser, HB pencil
Next up, grab your eraser and carefully remove the guidelines you no longer need:
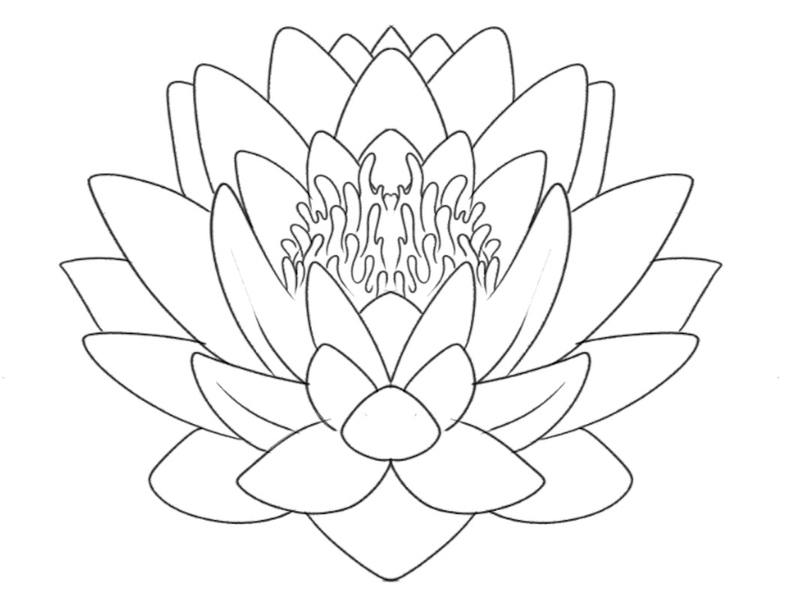
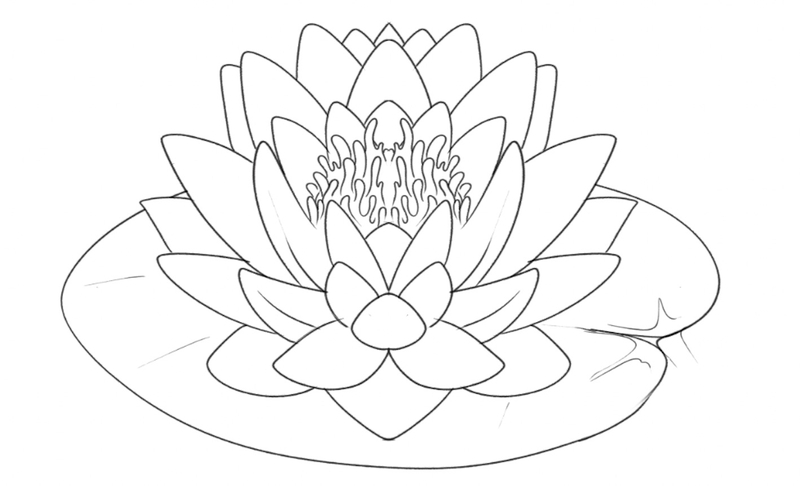
Before we start shading the flower, let’s add a large, round leaf under the flower:
Step 5: Shade Your Lotus Flower Drawing
Recommended tools: HB and 4B pencils, kneaded eraser
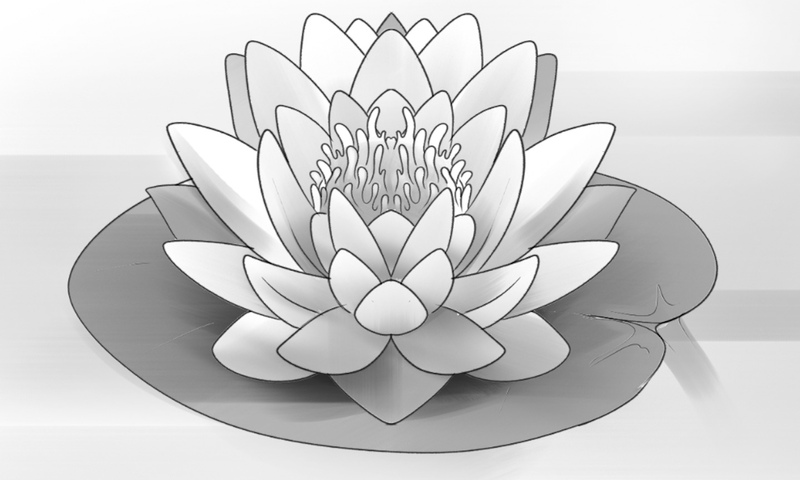
Shading is the final step to lotus flower drawing.
You can use a 4B pencil to create darker grey shades and combine it with an HB pencil, which is great for light shading.
First, decide where the light is coming from and shade the petals and the leaf accordingly.
Oh, you can also use your eraser to soften the transitions from lighter to darker shades and vice versa!
Finished Your Lotus Flower Drawing? Try These Next!
Once you learn how to draw a lotus flower, encourage you to explore more of our beginner-friendly how-to-draw guides.
You can keep practicing how to draw various landscapes, including:
- How to draw a forest
- How to draw a pumpkin
- How to draw a rose
- How to draw a mushroom
- How to draw a Christmas tree
- How to draw a snowflake
We also have several guides on how to draw animals:
- How to draw a deer
- How to draw a fish
- How to draw a horse
- How to draw a cat
- How to draw a dog
- How to draw a penguin
- How to draw a bat
- How to draw a wolf
And if you want to master the skill of drawing people, check out these guides:
- How to draw eyes
- How to draw a person
- How to draw a nose
- How to draw a mouth
- How to draw hands
- How to draw ears
- How to draw a face
We also invite you to check out our YouTube channel and watch the beginner-friendly video guides created by our lead BIOWARS artist — Goncalo Lopes.

Meet The Artist
All BIOWARS tutorials are created by Goncalo Lopes — a professional artist who worked on projects such as Transformers, GI-Joe, TMNT, Adventure Time, Godzilla and many others.
Aside from creating how-to-draw guides, Goncalo is also in charge of designing BIOWARS characters. If you haven’t already, go and check out the majestic work he’s done!
Goncalo is happy to share his vast experience with you as well as some useful tips and tricks that will help you learn how to draw in no time!
A Recap On Easy Lotus Flower Drawing
Although drawing the lotus flower may seem complex, as you can see, when you break it into smaller, manageable steps, the drawing process becomes much simpler.
Create the base for your drawing first, and then add one set of petals at a time.
Pay attention to the shape and size of petals — some are longer and pointier than others.
The goal is to create a symmetrical flower that peacefully rests on a large leaf placed underneath it.
To bring your sketch to life, shade your lotus flower by combining lighter and darker shades of grey.




![Finished sunflower and daisy drawings. Image used in the “Flower Drawing For Beginners [Sunflowers & Daisies]” blog post.](https://www.biowars.com/wp-content/uploads/2024/05/flower-drawing-hero-image-625x367.jpg)
